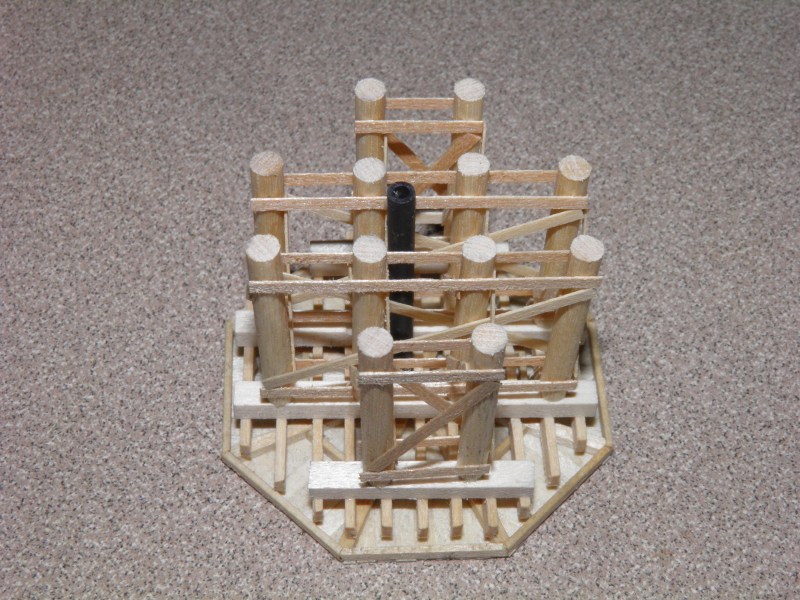
| First, weather inside surfaces - truss, underside of decking, and inside of roof lightly with
India ink/alcohol wash and then assemble the deck and truss with white glue, checking level again with bullet level. Cut 3/32"
plastic pipe to length and paint with Polly Scale grimy black. Attach to underside of deck with white glue.
|
 |
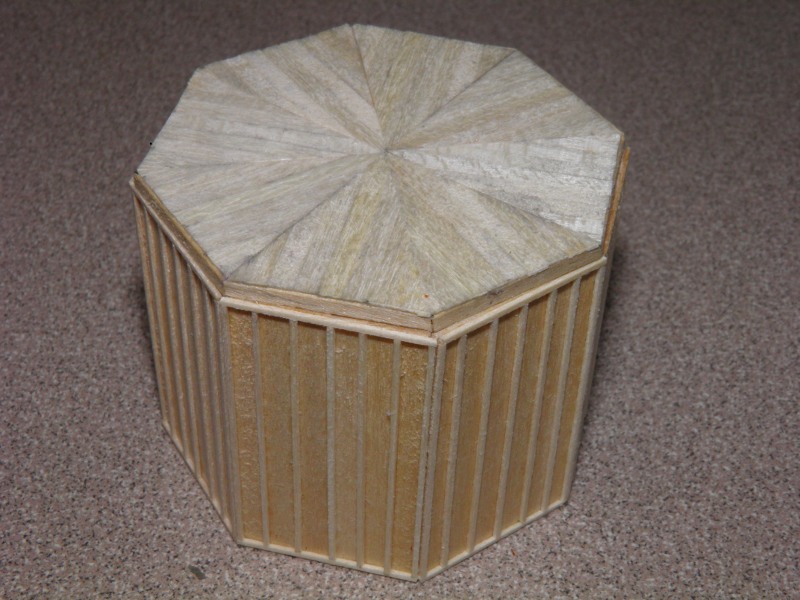
| For the board and batten wainscoting, build a scale 2"x6" octagon ring to support the bottom of each panel.
Next, edge glue scale 2"x12" boards together to form a panel. Trim to fit and use scale 2"x2" as battens to cover
the joints and outside edges. Gaps are left between panels to model the effect of removing the panels to get access
to interior pipes. |
 |
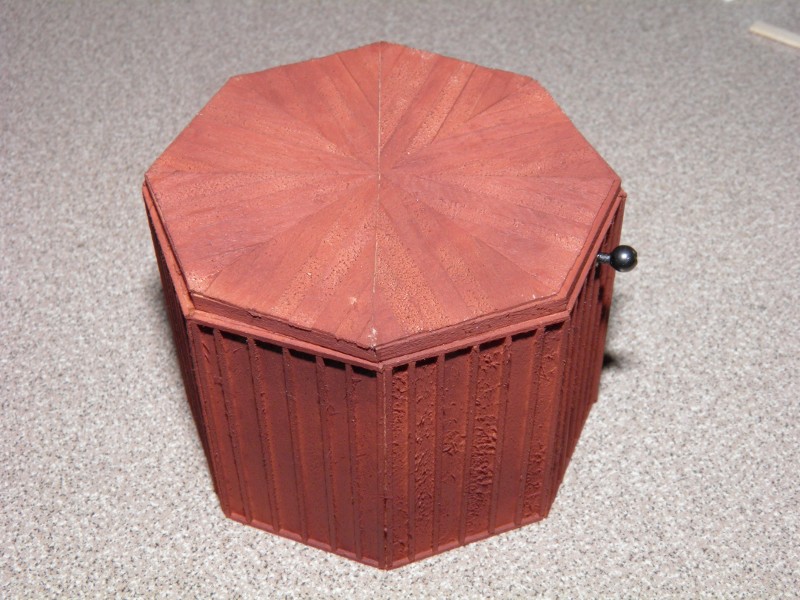
| Airbrush outside wooden surfaces with Polly Scale Light Freight Car Red and blacken external metal parts with NeoLube.
Attach filler pipe connector to wainscoting by drilling a #55 hole in wainscoting and using CA.
|
 |
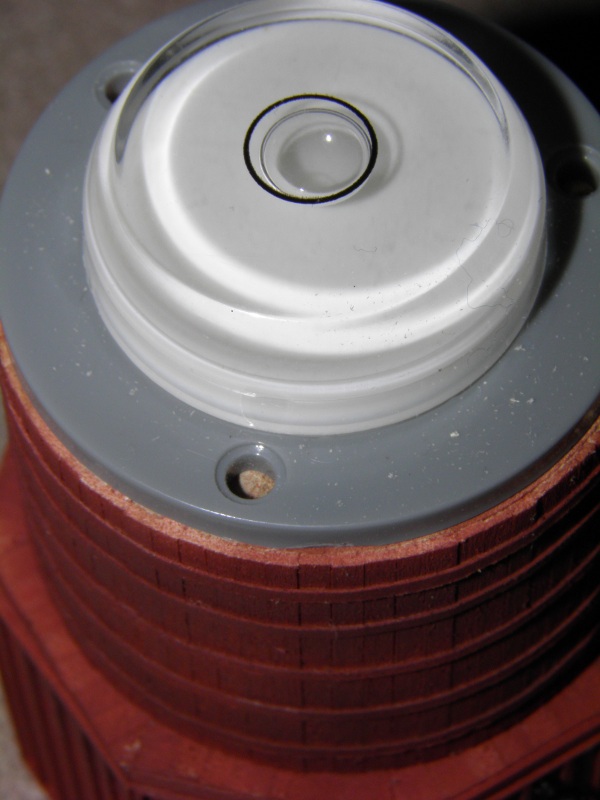
| Attach tank to deck with white glue and check level one last time with bullet level. |
 |
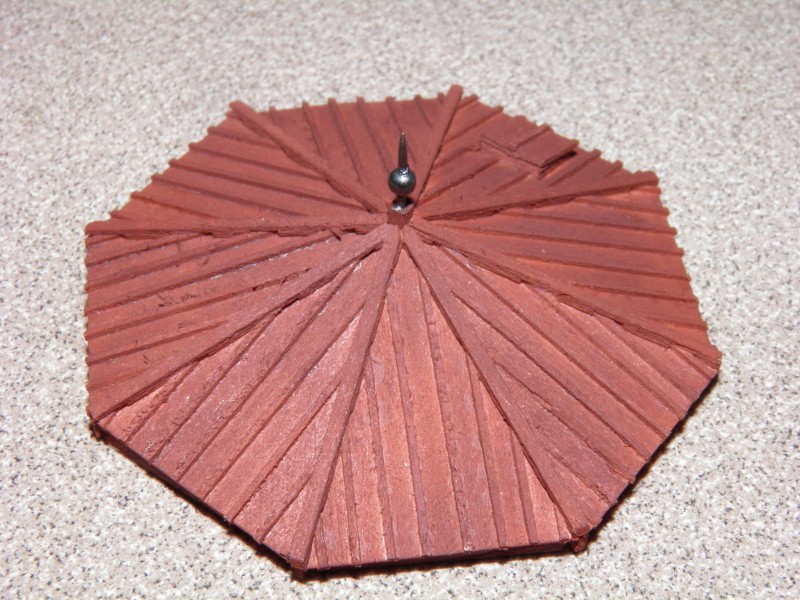
| Add roof finial detail by drilling a #65 hole in roof post and mounting with CA. |
 |
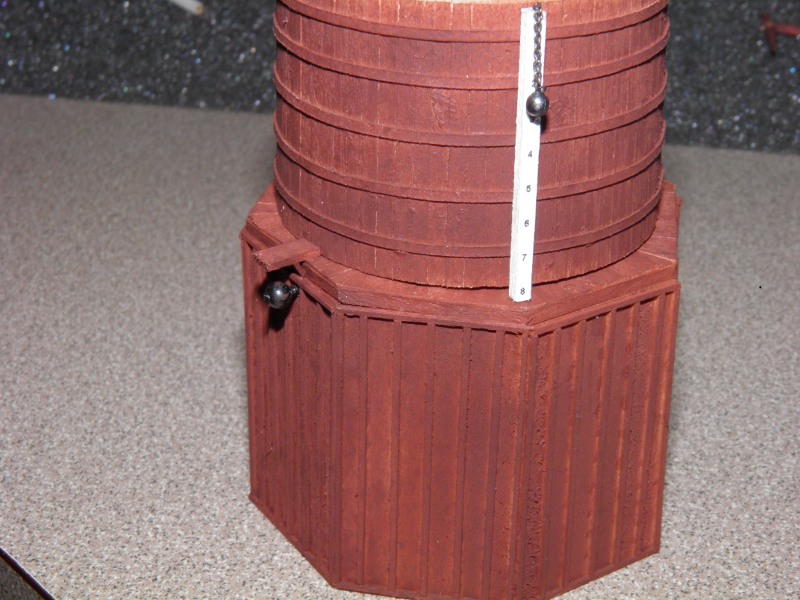
| Attach water gauge to tank with white glue. Fabricate level indicator by cutting a length of 40 links to the inch
A-Line Chain between 2' and 3' scale length. Use CA to attach chain to 1.75mm bead. Blacken bead with NeoLube and use CA
to attach other end of chain to top of water gauge. Build the control arm support from a scale 2' length of scale 3"x10"
mounted by white glue. Brace with 2 pieces of scale 2"x2" mitered to fit. Hand paint detail assembly with Polly Scale Light
Freight Car Red.
|
 |
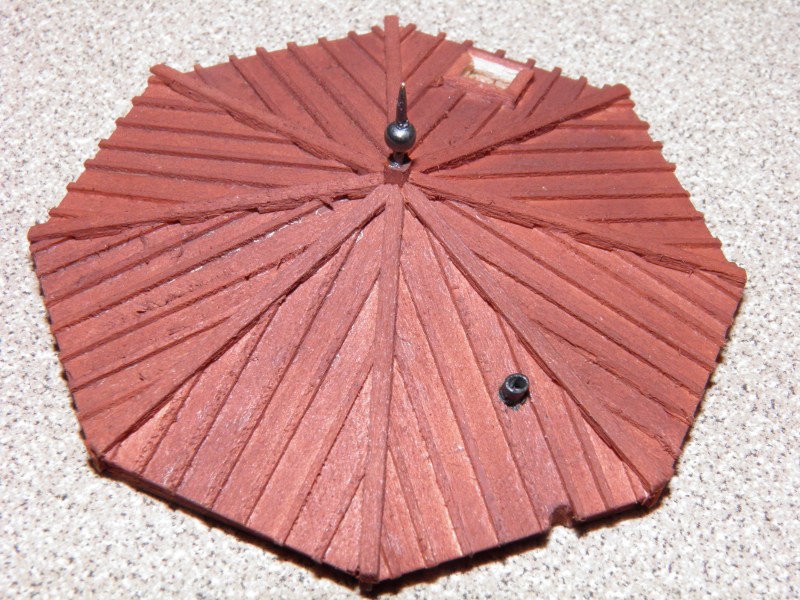
| Prepare the roof to accept the control arm stand by notching the panel above the control arm support using a
mini-rasp. The control chain passes through a 1/16" plastic tube with the center hand drilled out with a #55 bit. Hand
paint the tube with Polly Scale Grimy Black and mount in a hole hand-drilled with a #50 bit using CA. |
 |
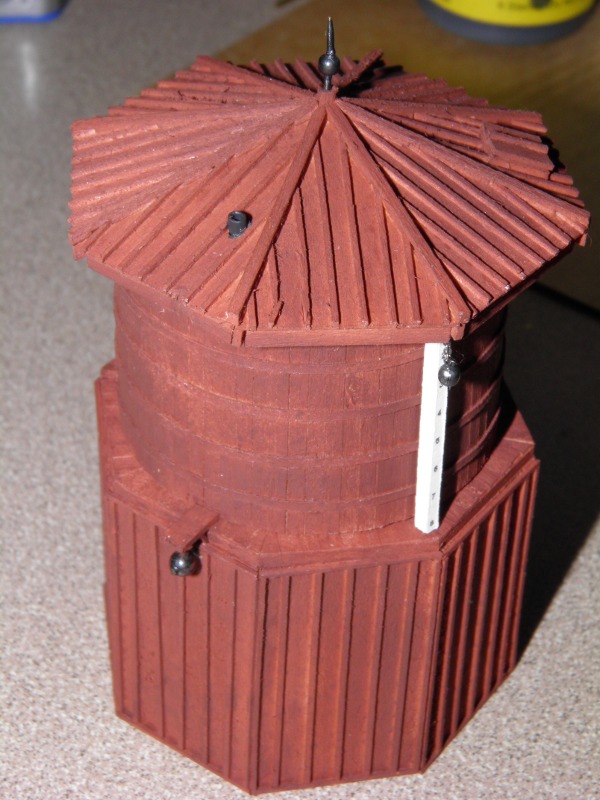
| Mount roof to tank with white glue so that the majority of the outside edges are even with the tank -
variance shows where there has been sagging from water seepage and snow damage. |
 |
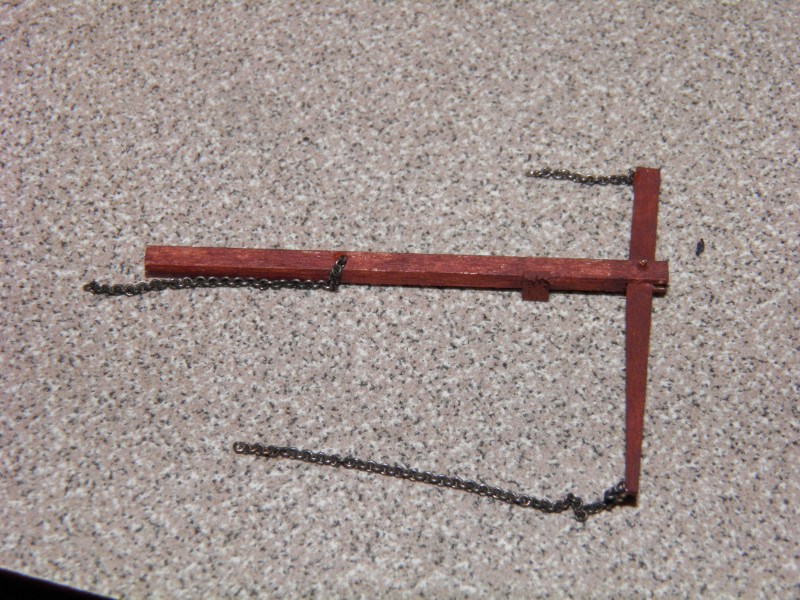
| Cut three length of 40-links to the inch A-Line chain for the control arm/stand: a 1cm length for the end
of the arm that will be above the tank, a scale 10' length as a pull chain (attached to the other end of the control arm)
and a scale 7.5' length that will connect the filler pipe to the control stand. Attach these to the control arm/stand
with CA. |
 |
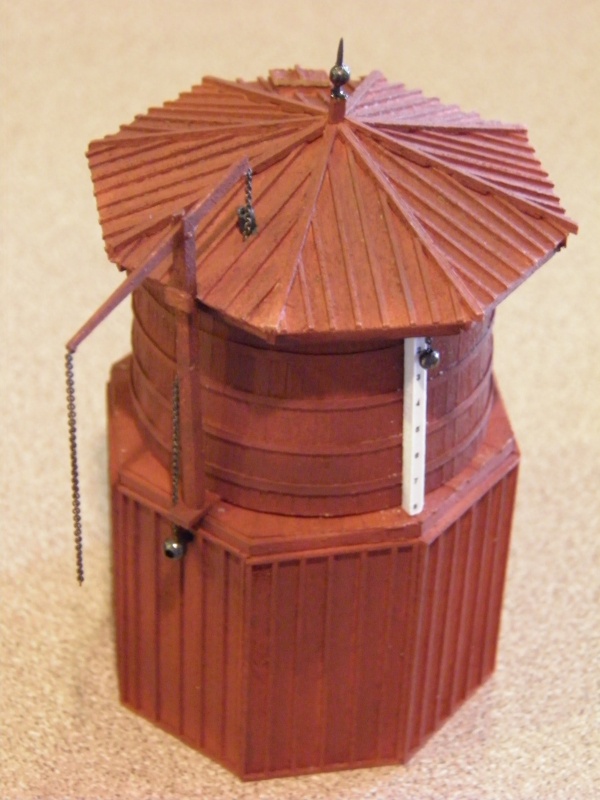
| Attach control arm/stand to tank with white glue. Carefully insert control chain into roof access pipe. |
 |
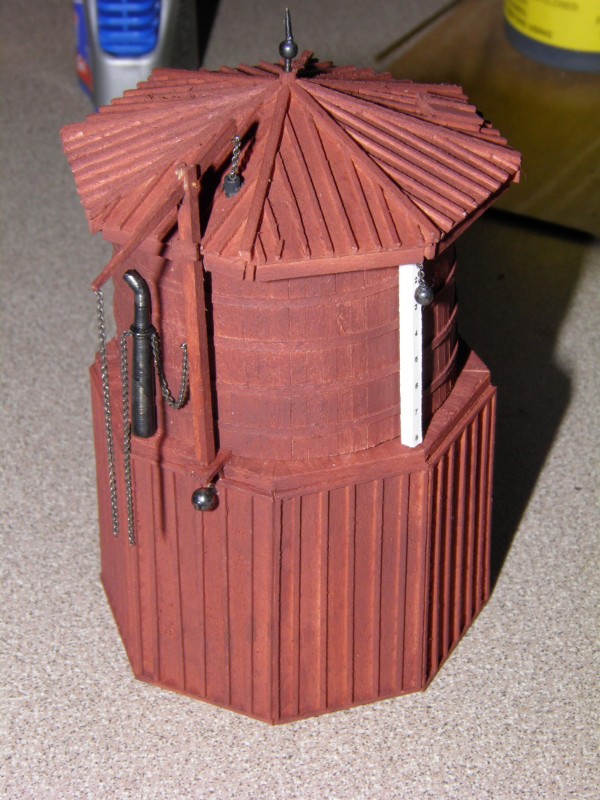
| 14. Cut a scale 10' of 40 links per inch A-Line chain used for "grabbing" the pipe by a crew and attach it to
the pipe retaining ring with CA. Attach the free end of the retaining chain from control stand to the pipe retaining
ring with more CA. Use CA to mount pipe on corner of deck with pipe egress pointed sideways to leave track clear. |
 |