The original caboose and combine designs for the B&CC rolling stock (build in 2010) used plastic Grandt line parts for
things like doors, windows, seats, and furnace. In 2014, I decided to upgrade these cars and add lights to them. Since I was
going to have the cars open anyway, I "succumbed to the dark side" and started exploring how to replace these parts with
wood and metal, with an eye to finishing/weathering the insides of these cars. This page details my experiences.
| Originally, I used Grandt Line NG Caboose Doors (catalog #5063). When I looked at how to replace these doors, my original
thought was to model the raised door by laminating three pieces of 1/64" aircraft plywood together, using one center piece
and two outside pieces as shown in the following drawing (in HO scale and 300 pixels per inch). |
 |
This almost works - it turns out the that the window mullins
in the center piece are too narrow to be cut from aircraft plywood, but we can use 2"x2" strip lumber to model them as well as
inside and outside door moulding.
The photograph shows the steps in putting the door together:
- Cut out center piece before adding in mullins.
- Center piece with mullins added and two outside pieces
- Laminated door, with aircraft canopy glue as window glazing
|
 |
| Comparison Photo: Caboose end with Grandt door |
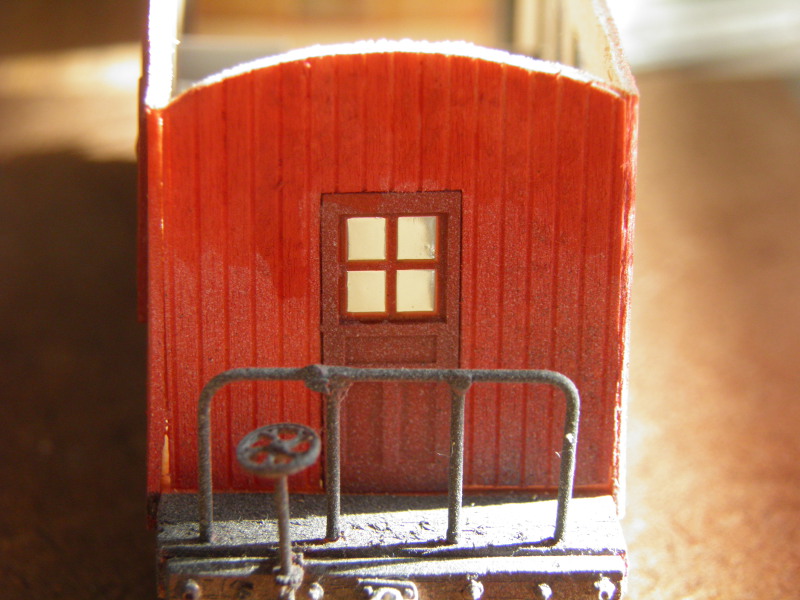 |
| Comparison Photo: Caboose end with wooden door (railing was removed prior to replacement process |
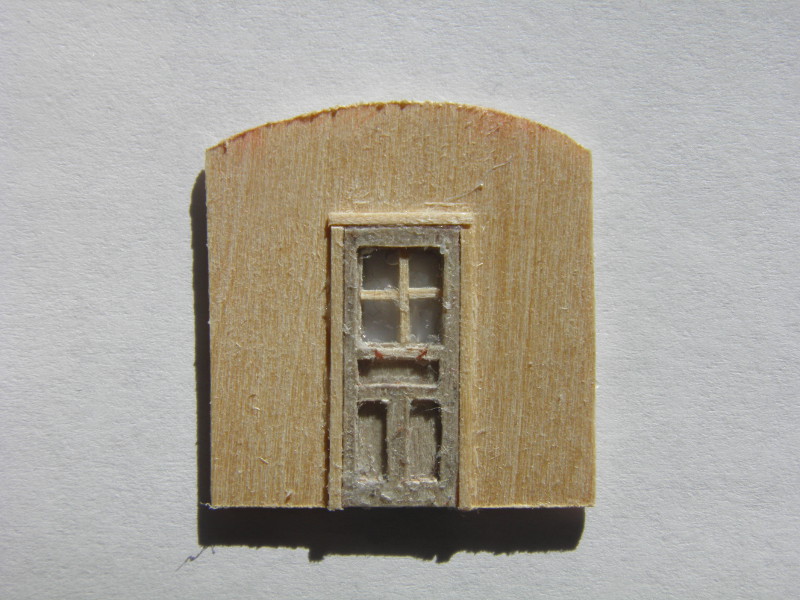 |
| Interior divider wall with wooden door |
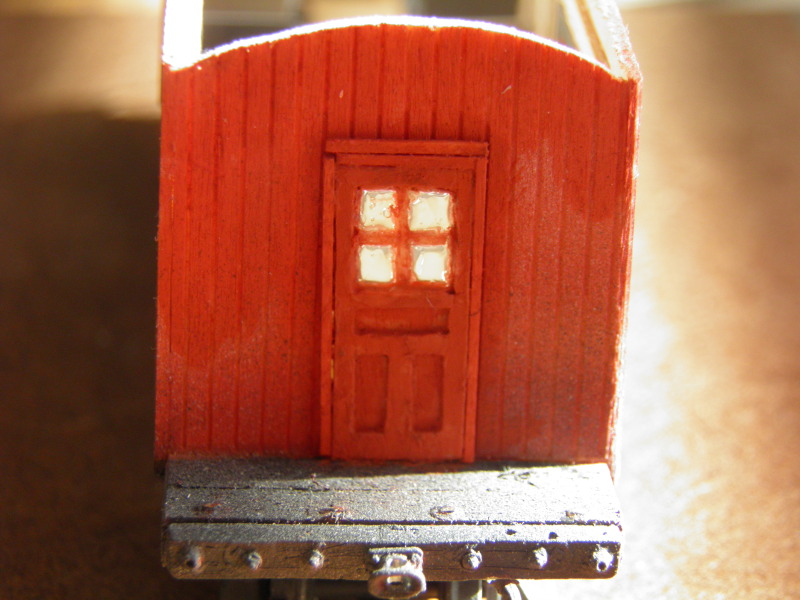 |
| Again, I used Grandt Line NG Doors (catalog #TBD). However, when revisiting the car layout, I realized that I had overlooked
two things. First, the divider wall should be closer to the back row of seats and second, there wasn't enough room to open the
freight door without some sort of articulation. | 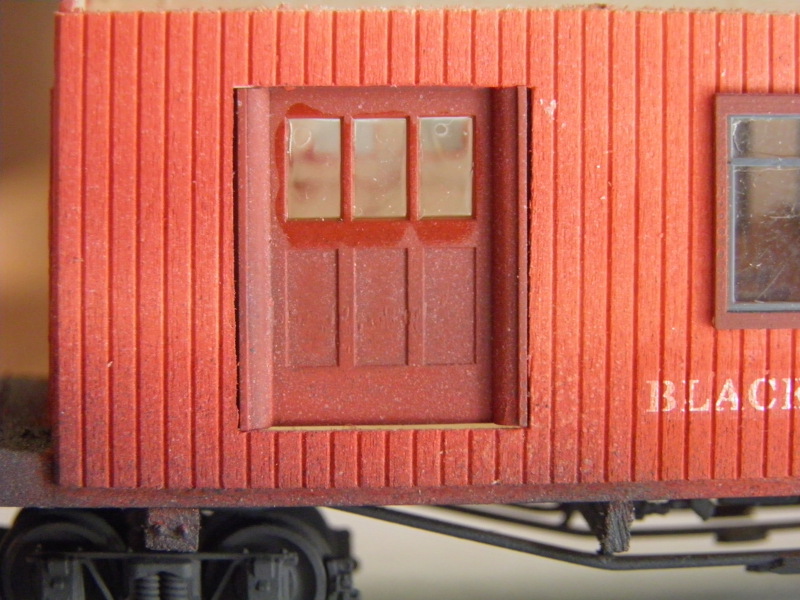 |
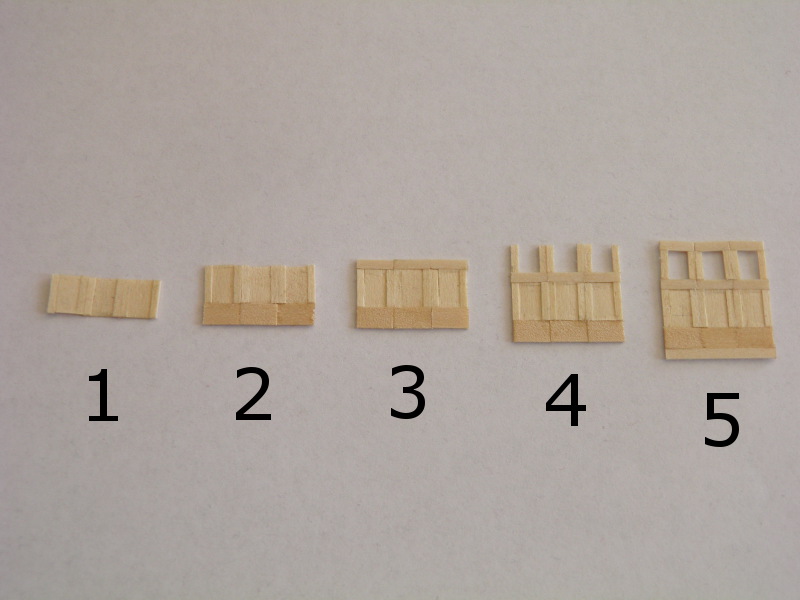
The doors are built up via the following steps:
- Lower panels start as three 1"x12" panels edged by 2"x4"
- The bottom of the these panels are formed from 2"x12"
- The top of the panels are 2"x6"
- Window pannels are framed by 2"x4" verticals,
- And topped by another set of 2"x6"
|  |
| The result (weathering to be applied once all the changes are done), with the
curved track to be applied after the seats and interior divider is replaced. | 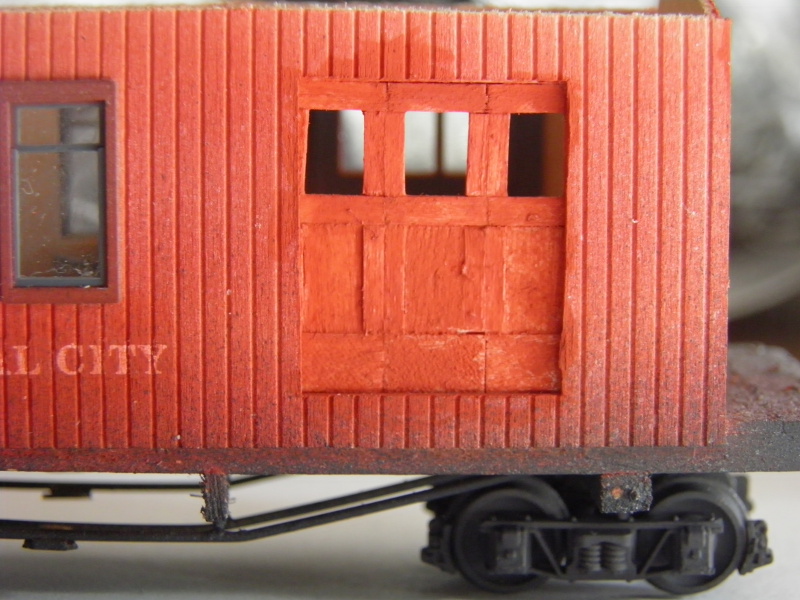 |

