I've worked up two different ways to finish a house car. The first I use when I want an older car where the sides are
starting to list and the second is for newer cars that are still relatively rigid.
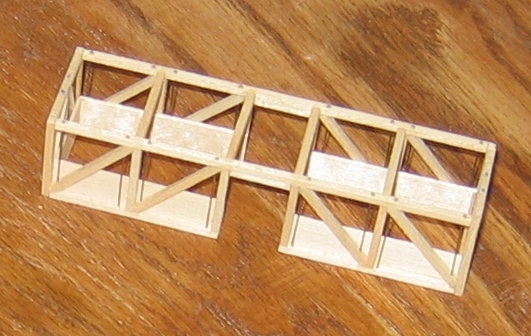
| For an older car, first assemble the end pieces (with diagonal
bracing) and cross ribs section by section |
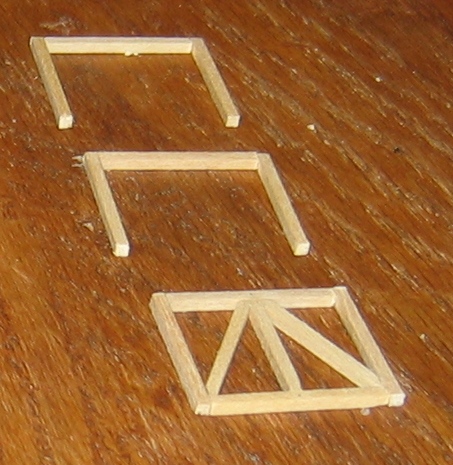 |
| Connect the ribs with short horizontal bracing – these multiple cuts will
naturally lead to the rib sections being slightly out of line. |
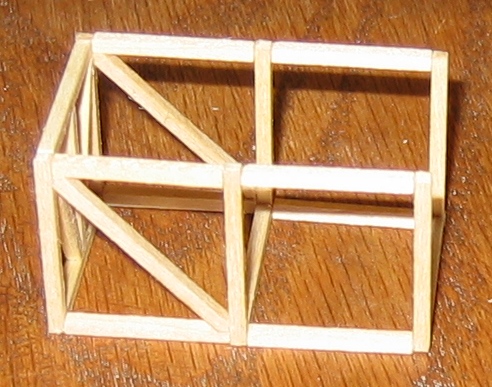 |
| Use a short length of cross section for the door area (The cross bracing
and tension rods will be explained later). |
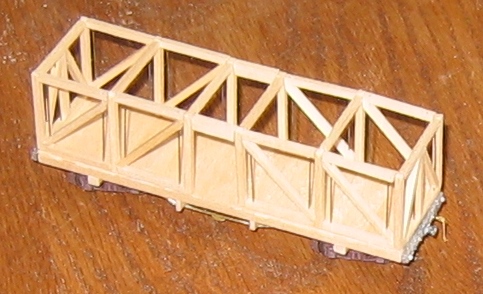 |
| For a newer car, use a full car length horizontal run between the end
frames. |
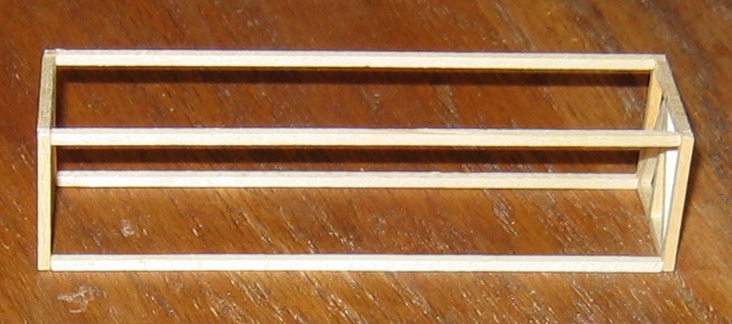 |
| Before assembly, mark the horizontals with the location for the verticals
and roof braces. Typically, the first one is located over the truck bolster;
however, early narrow gauge house cars did not always follow this practice.
Then add the verticals at the marked locations. You can either cut the lower
frame for the door opening; using this scrap for the door header or cut
an additional piece of framing for this purpose. Then add the roof braces
when the horizontal has been marked. |
 |
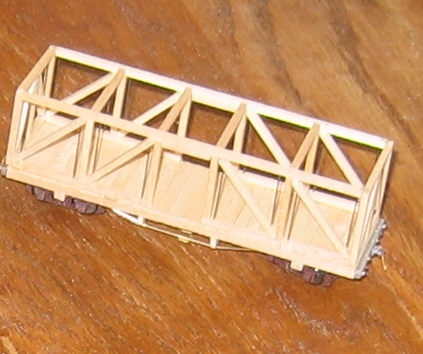
| The internal car support is a simple Howe Truss, so add diagonal braces
towards the center of the car. |
 |
| Truss rods are made from 0.020" piano wire, installed in #74 holes. A
pilot hole is drilled where the diagonal support meets the horizontal beam
and then use the end of the wire itself to dig into the other side of the
frame. Do this for both the sides and the ends. |
 |
| or added detail, NBWs can be glued to the roof horizontal beam in line
with the truss rods. |
 |
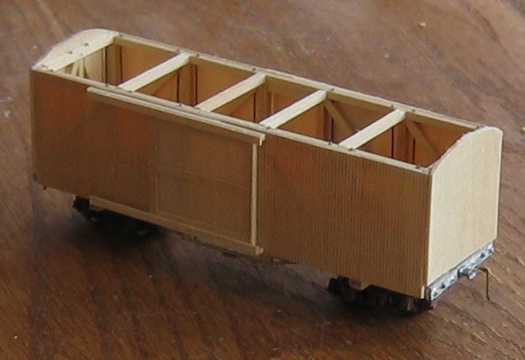
| Sheathing (both inside and outside) consists of Scribed Wood Siding available
from Northeastern Scale Lumber. The inside of the car is sheathed to half
the car height with the sheathing oriented horizontally. The same material
is used for sheathing the outside of the car, with the scribes oriented
vertically and cut to overhang the edges of the car base. As this is a radial
roof car, the car ends are cut to match the roof profile. Car doors are
constructed from scrap sheathing cut to size and banded with 1"x6" stock.
The door tracks at the top and bottom of the door are made from a 4"x4"
piece of stock for the runners and a 2"x6" piece of stock as the "lip" that
holds the door to the car allowing the doors to be operational. |
 |
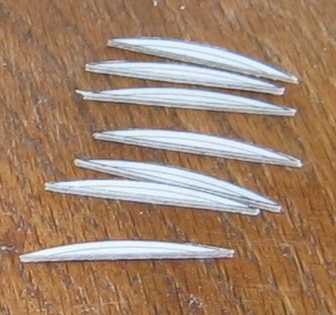
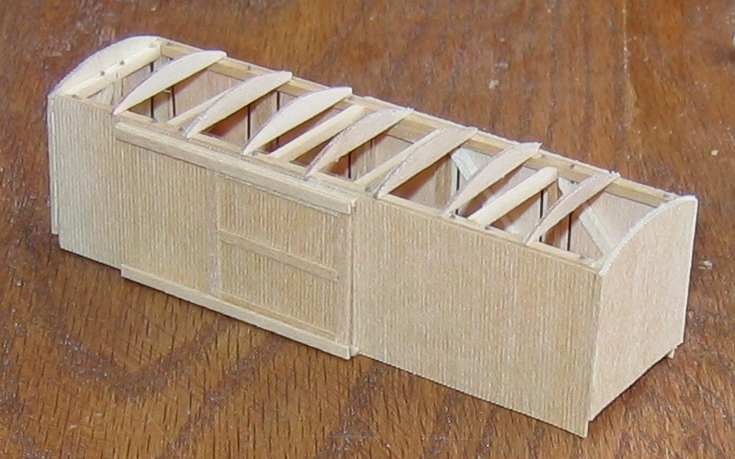
| Cut rafters from 1/32" aircraft plywood |
 |
| Mount the rafters to the roof of the frame. |
 |
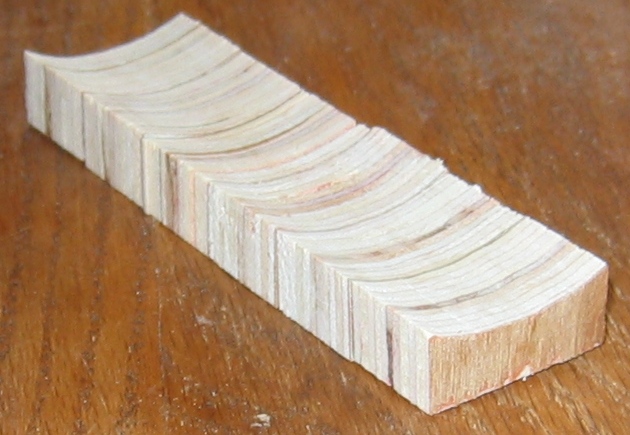
| Construct a gluing jig to help attach the roof. Note that this jig will
also be used when finishing the Combine and Caboose Cars. |
 |
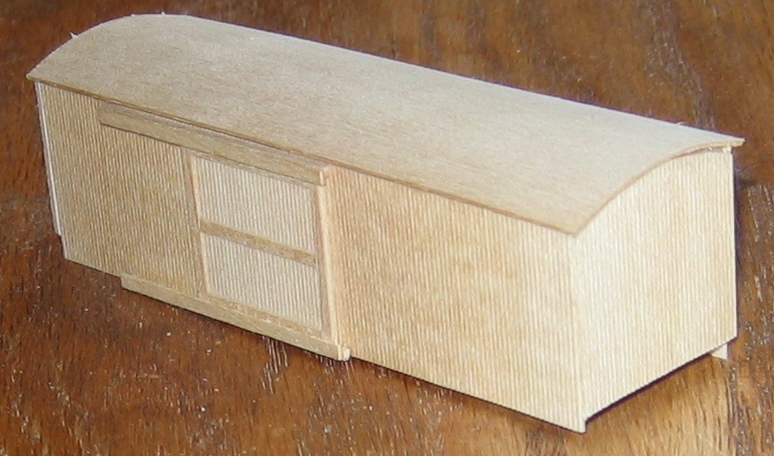
| Car roofing is just more scribed sheathing, with the scribes facing the
inside of the car. The scribes act like kerf cuts, allowing the wood to
bend more easily. Use the gluing jig as a clamping block when attaching
the roof. |
 |
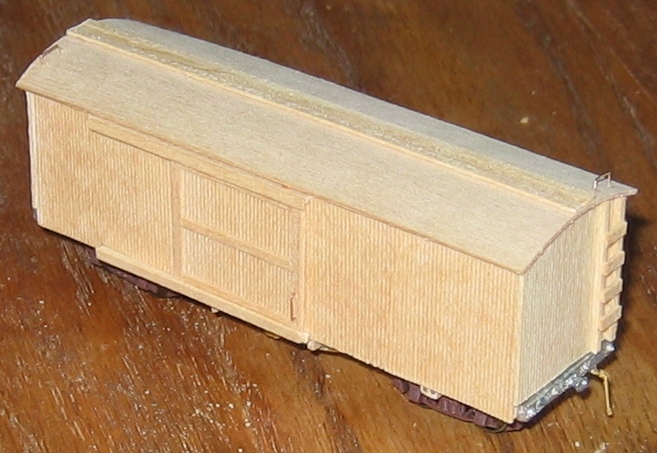
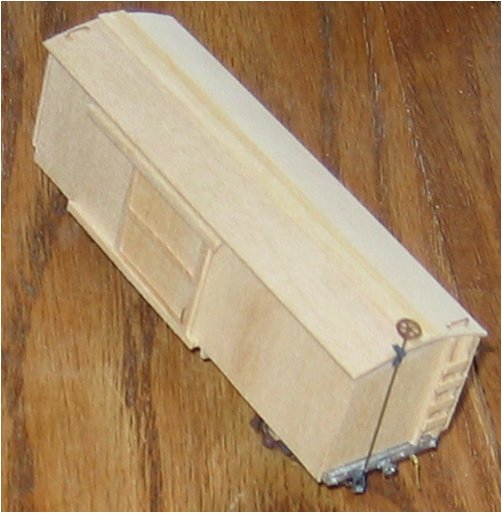
| Remaining external details include the roof walk, external ladders and
grab irons. The roof walk is 3 2"x6" pieces of stock, cut to 30' long and
edge glued, then mounted to the top of the roof. Use 4"x4" verticals and
2"x6" steps for the ladders (which are mounted on both ends of the car).
Door and roof grab irons begin as stock A-Line grab irons and are then re-bent
to the correct size to function as door and roof irons and mounted in #74
holes. |
 |
| The Brake wheel, upper stave bracket and brake stave are attached to the
A end of the car. Retainer valves are not used (they weren't invented until
1882). The brake staff is not glued to the lower bracket so that the top
can be removed for adding/removing weights and loads. |
 |
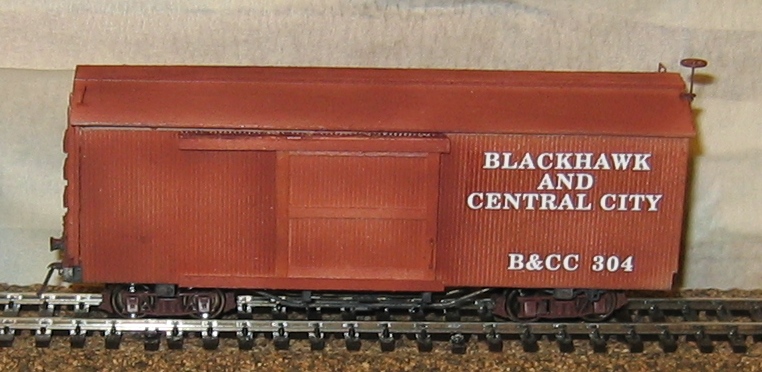
| Like the rest of the freight cars, the top and sides of the house cars
are airbrushed with Polly Scale Light Freight Car Red, thinned according
to bottle directions and not worrying about evenness (because the cars would
fade in the high UV environment prevalent in the mountains of Colorado) |
 |
| The underside gets the same treatment as the other freight cars: a coat
of Polly Scale Grimy Black, again thinned according to bottle directions
and taking advantage of overspray when painting the ends of the truck beams. |
 |
| House cars are numbered from the 300 series and receive a full name block
in the upper right quadrant. |
 |
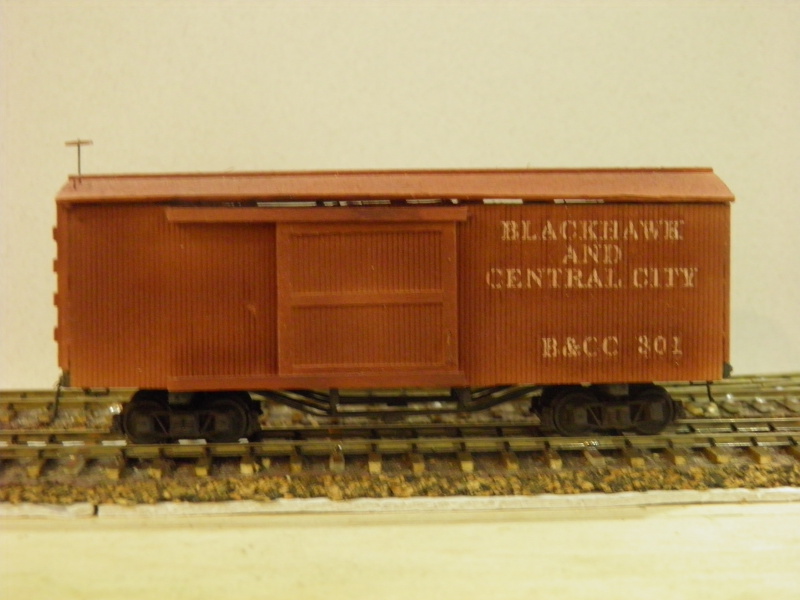
| Of course, when is a model ever finished? The house cars were missing
stirrups, so let's add them to the corners |
 |
The decals get scribed and weathered with base color paint thinned
5 to 1. To finish up, add grab irons made from 0.008" brass.
|
 |