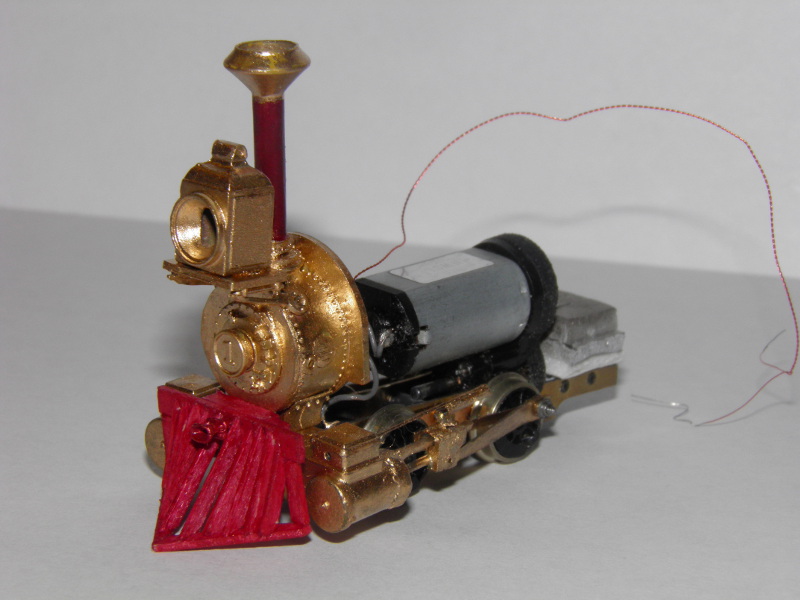
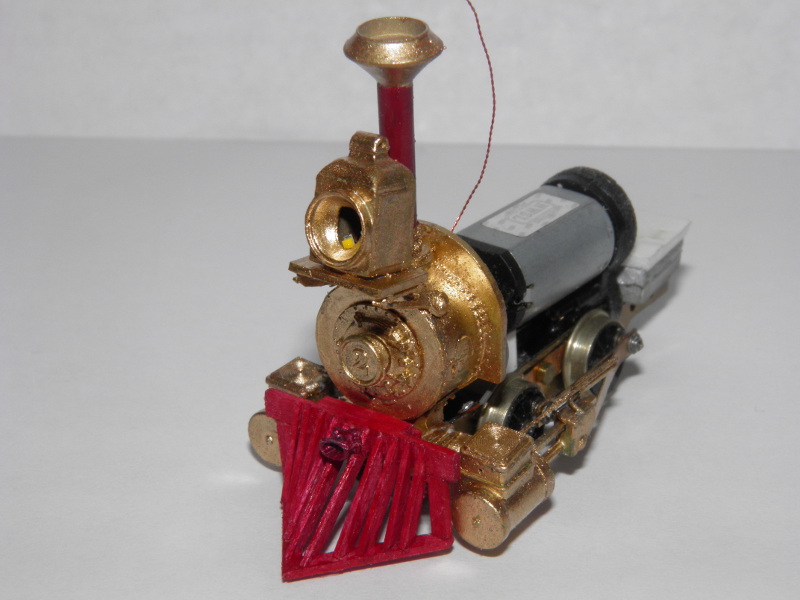
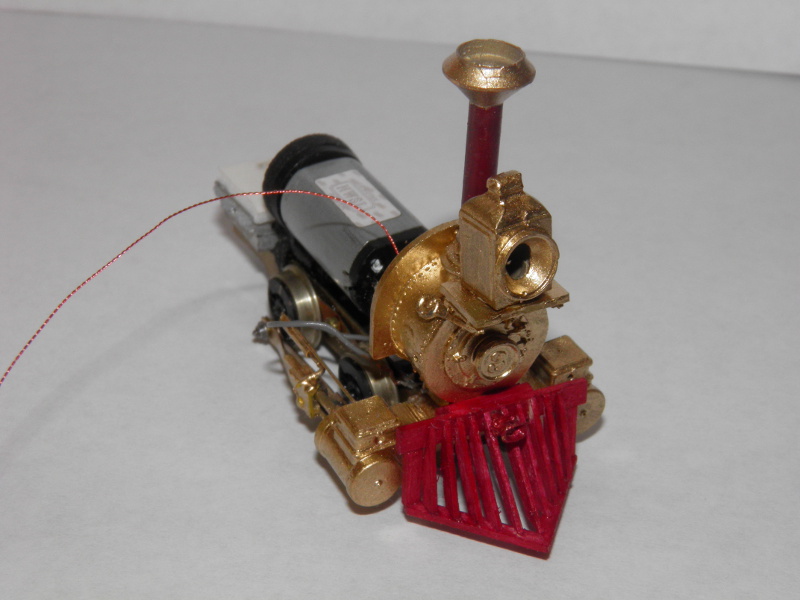
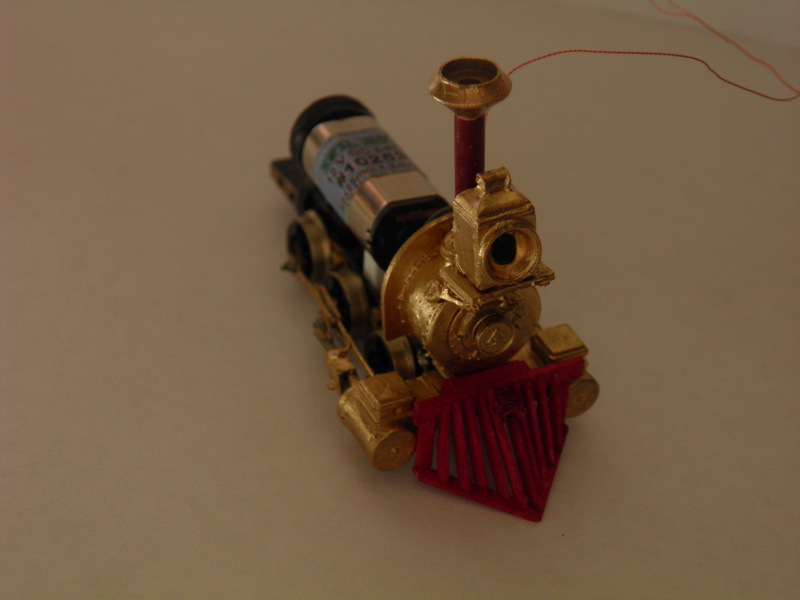
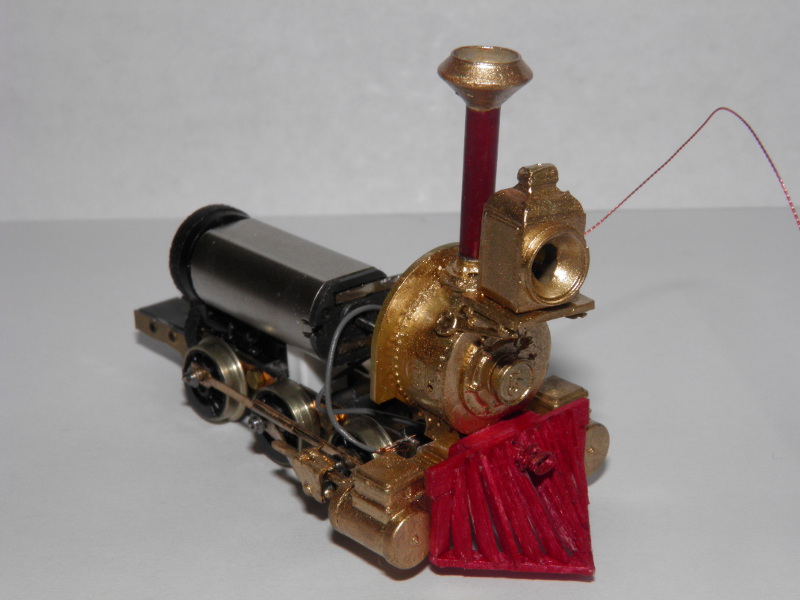
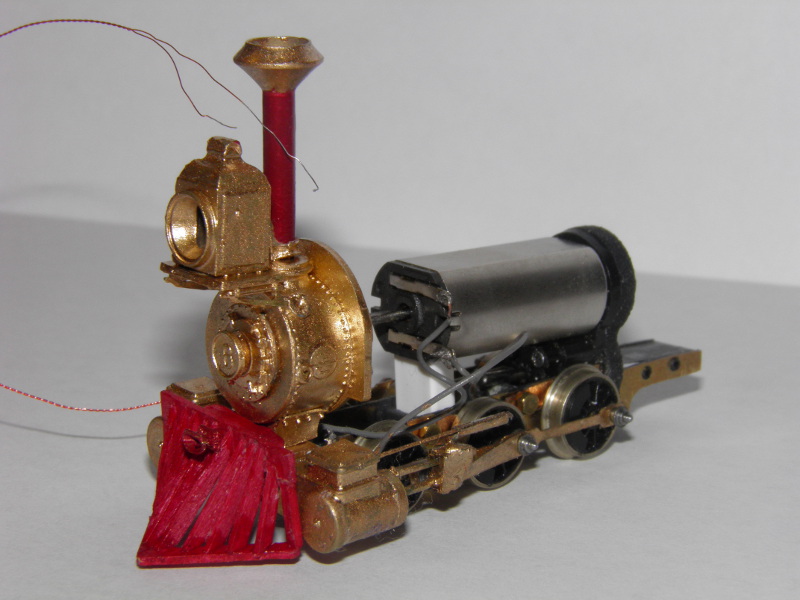
| With all of the subassemblies completed and painted, final assembly begins by putting the saddle, front end,
and pilots on each engine. A #0x1/2" screw and nut holds the pilot and front end to the frame, and the pilot mounting block is
trimmed and rabbited to fit under the smoke box when attached. |
|
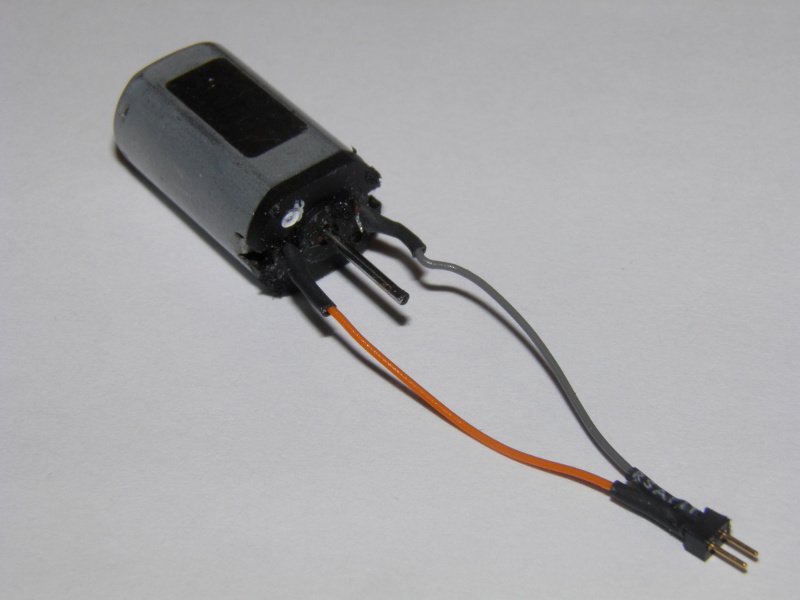
| The next step is to remove the jumper wires from the motors and attach the two-wire connectors to them.
Following the NMRA DCC color code, the orange wire goes to the positive terminal of the motor and the grey wire
goes to the other terminal. Strip about 1/8" off the end and cover with 1/4" of heat shrink tubing. |
 |
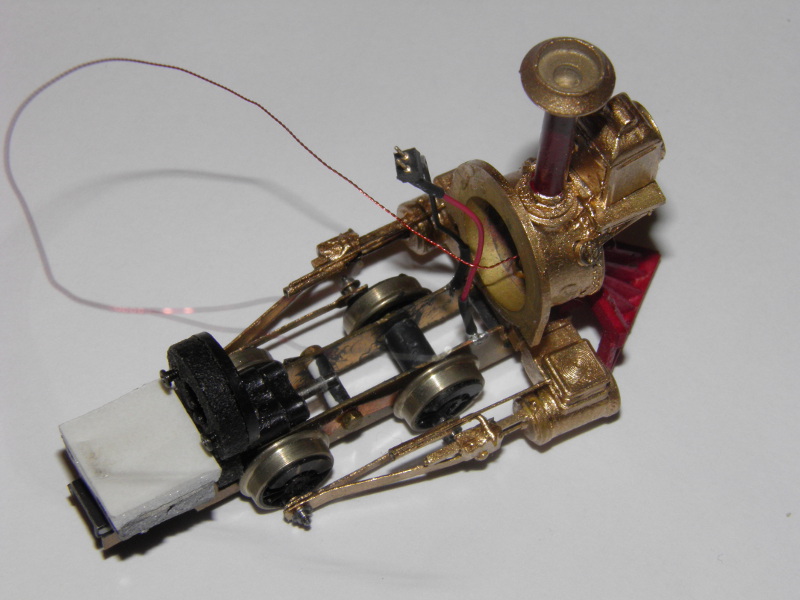
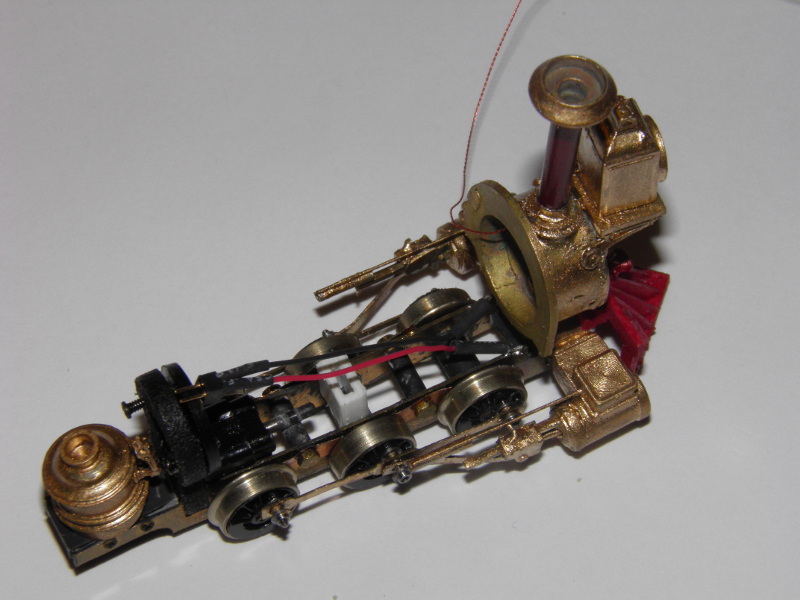
| The jumper wires also need to be removed from the frame and the two-wire connector attached to it.
In this case the right side (as viewed from the back) has the red wire attached to it and the left side has the black wire.
Again, strip about 1/8" of the ends and cover with 1/4" of heat shrink tubing to minimize the possibilities of shorts. |
 |
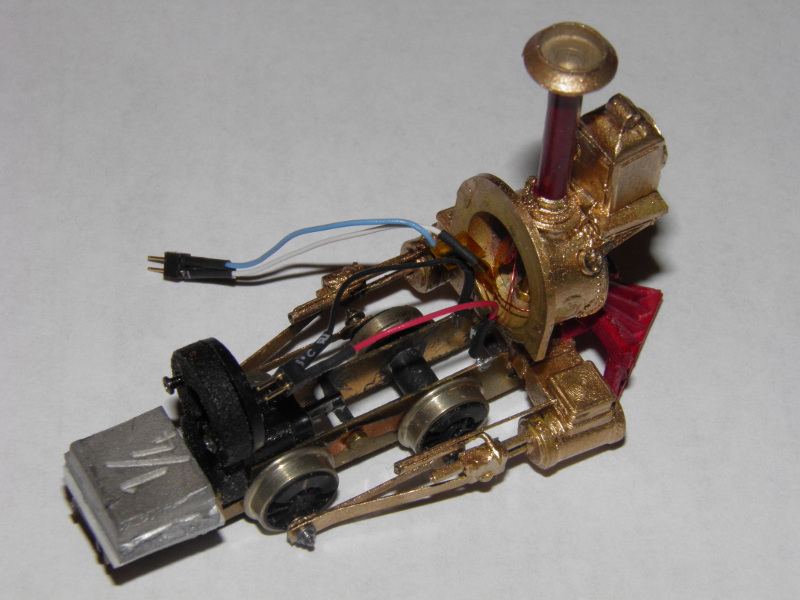
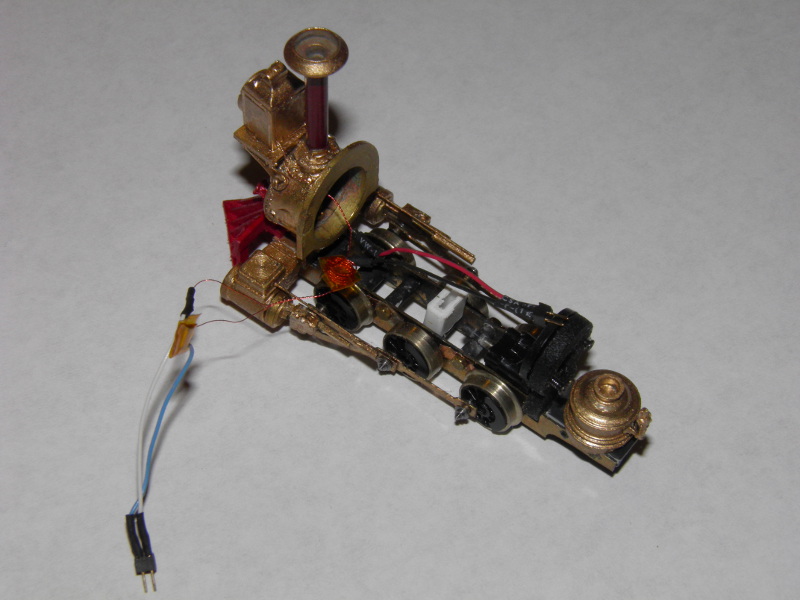
| For the headlight, the "hot" lead of the magnet wire and the blue wire of the connector are soldered to a
surface mount resistor of 820 ohms and the connections reinforced and insulated with some 1/4" wide Kapton tape.
The "cold" lead of the magnet wire is soldered directly to the white connector wire and insulated with a 1/4" long piece
of heat shrink tubing. Excess magnet wire is looped up and locked in place with more Kapton tape. |
 |
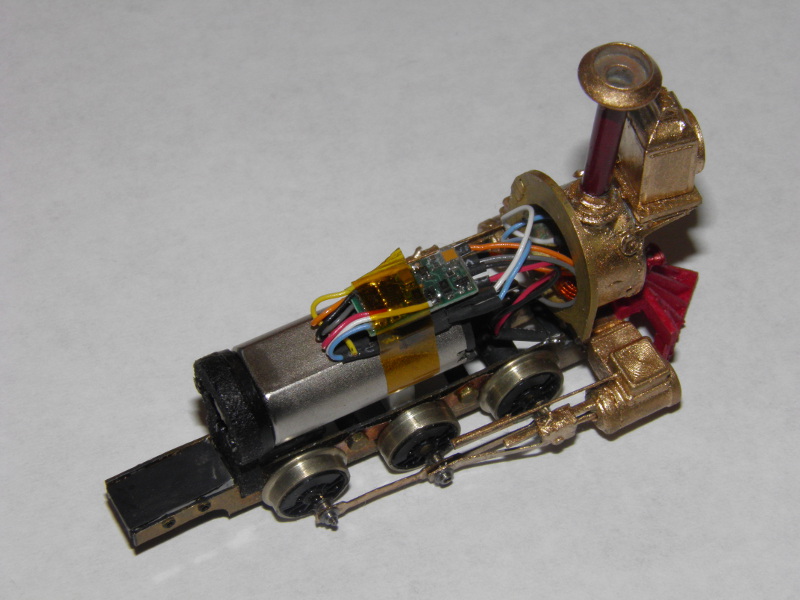
| Lastly, the decoder can be reconected and held in place under the saddle tank with another piece of Kapton tape. |

|
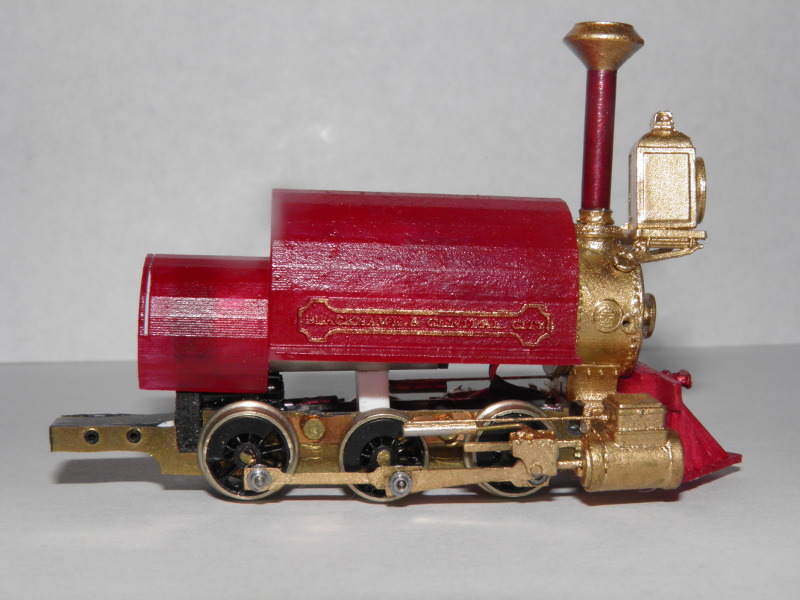
| With the decoders connected, now the painted saddle tanks can be fitted to the front end of the engines. This is not
a final fit, as there are still other details to be added to the tanks, but it necessary for the next step. |

|
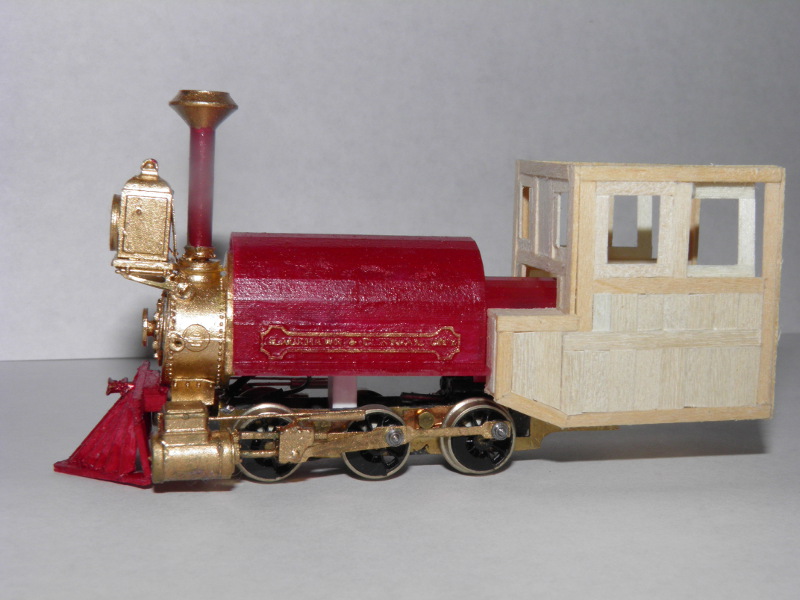
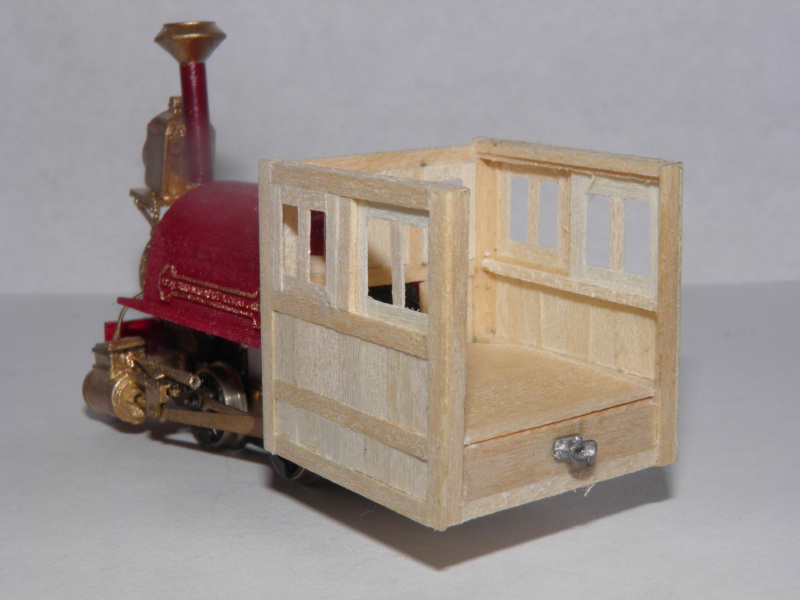
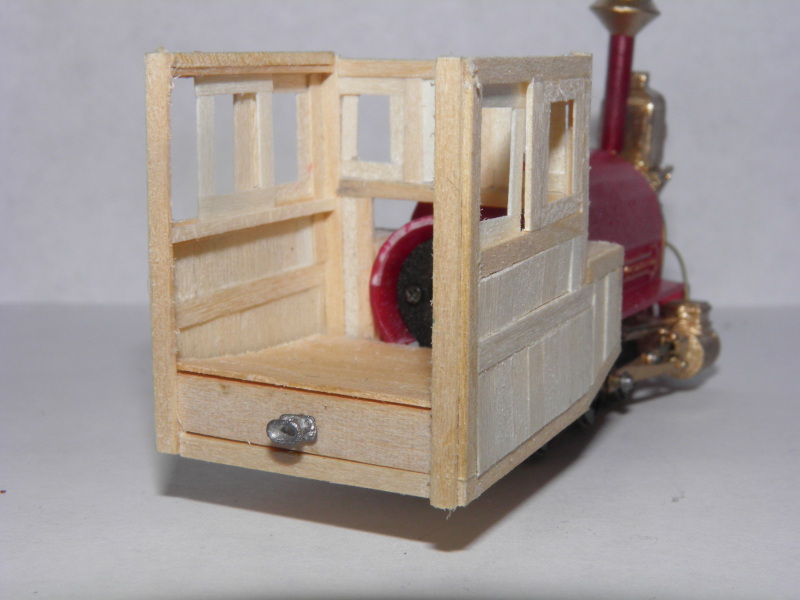
| The cabs' subfloor is made from fifteen scale 6"x6" lumber edge glued together. After adding this, the cab can be fitted to the
saddle tanks to determine what (if any) shimming is required to ensure the cabs are level and plumb. |

 |
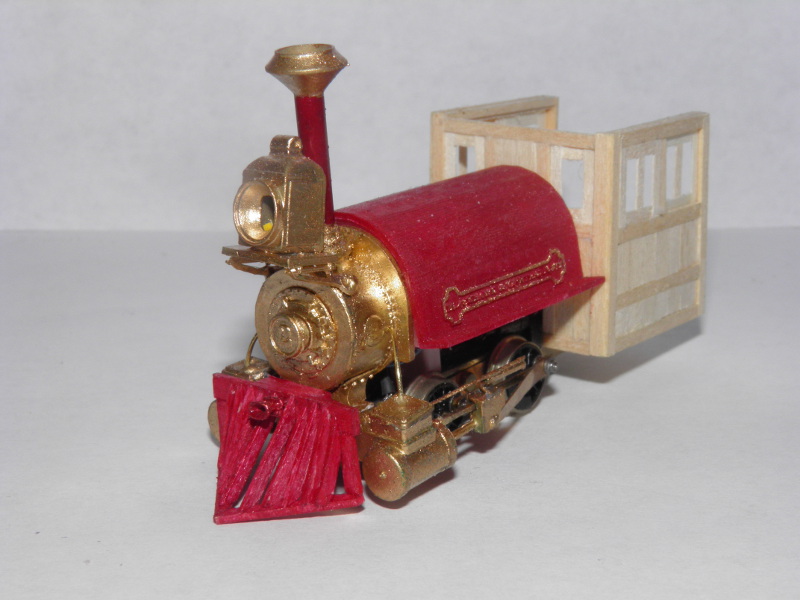
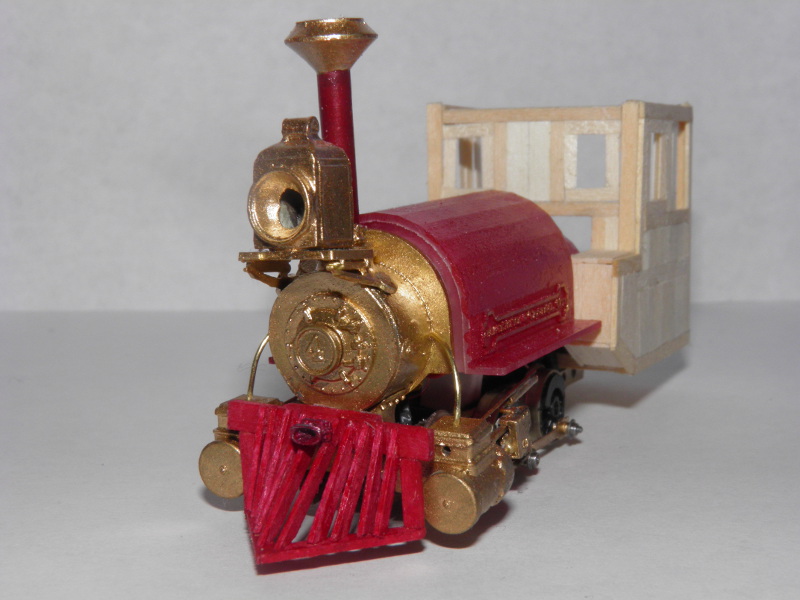
| The piping from the cylinders to the tank is made from 0.022" wire and bent to shape. It is glued to the cylinder, but not to
the tank in case disassembly is necessary |
 |
| The rear coupler is attached to a scale 12"x18" cross member glued to the subfloor. Weight is provided by a square inch of
1/16" sheet lead covered by the cab floor (made from scale 2"x12" members).
|
|
| The inside of the cab is painted Pullman Green, to model the green paints used as preservatives in the 19th century,
darkened by the creosote smoke from the wood burning firebox. On the 0-6-0T cab, the opening between the boiler cover and the
cab is filled by a piece of 1/32" plywood cut to shape and glued in place. The backhead is from Precision Scale
(catalog #32399), mounted to a 1/8" long piece of 1/2" diameter plastic tubing and this subassembly weathered with Grimy Black.
The backhead assembly is then mounted to the front wall of the cab. |


|
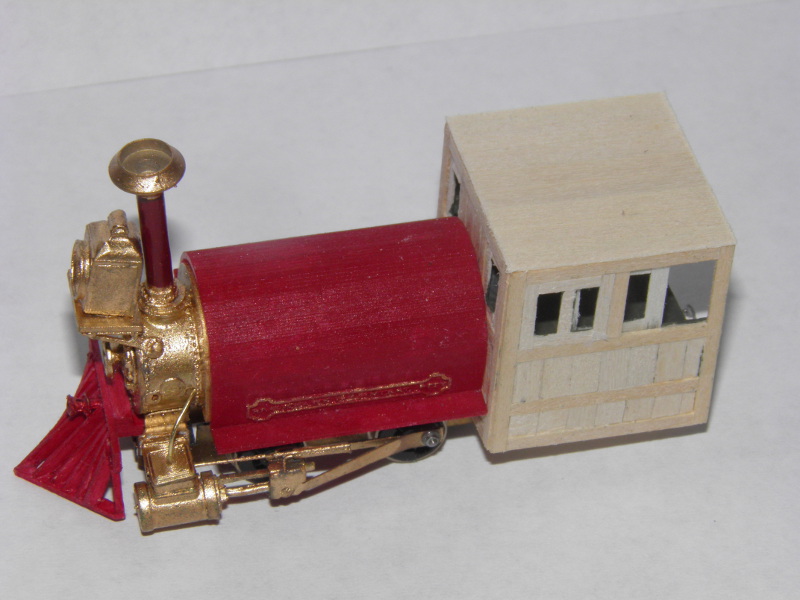
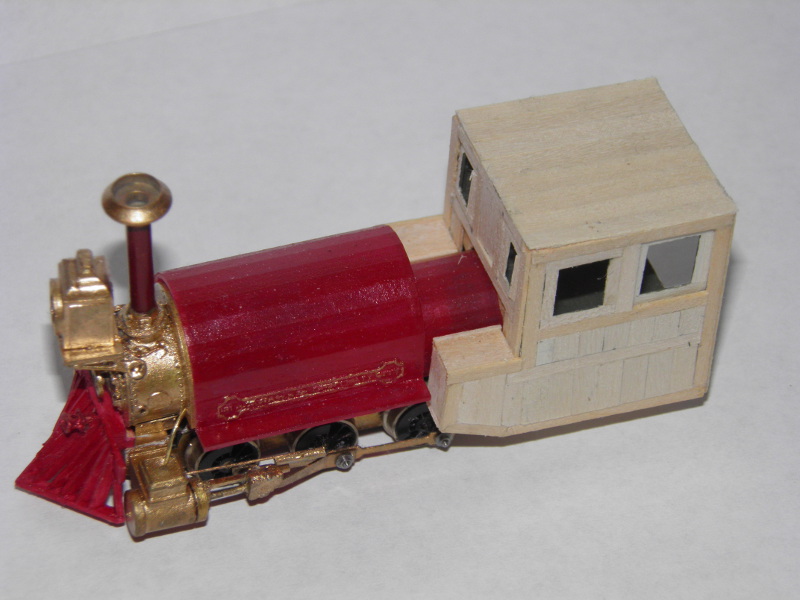
| The roof is made from another fifteen pieces of 6"x6" edge glued together. The underside is painted pullman green
and the assembly is glued in place and covered with pieces of 1"x12" edge glued together. |
|
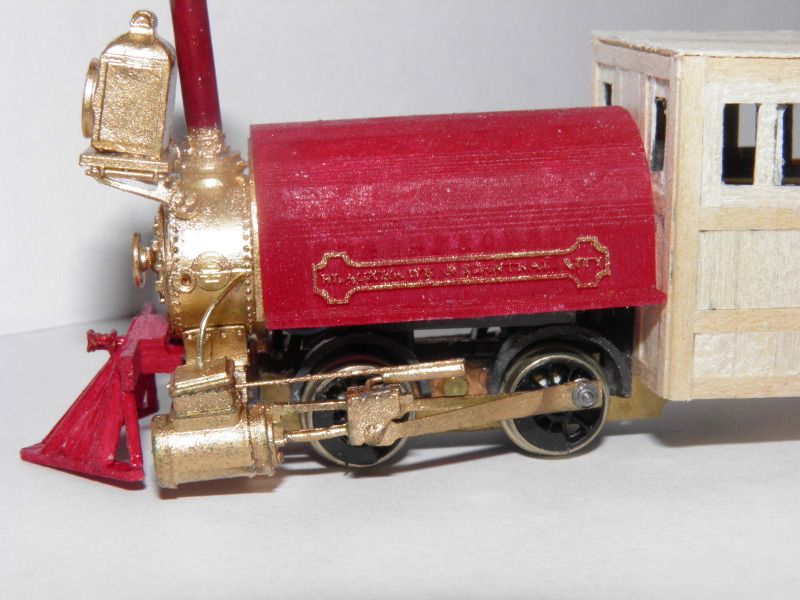
| It turns out that the brake gear modeling doesn't quite fit as shown above, but with a little adjustment, it goes right in:
| 
 |
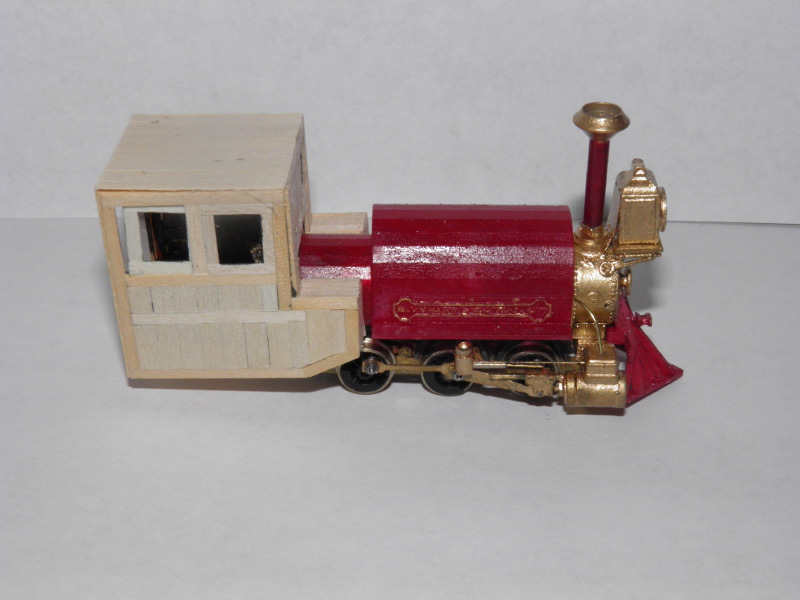
| The rest of the valve gear is made from a 1/8" long piece of 1/8" plastic tube with a 3mm bead mounted to it. A slot is
cut in the tube for mounting and the assembly painted in gold. Piping is left off for operational reliability. |

 |
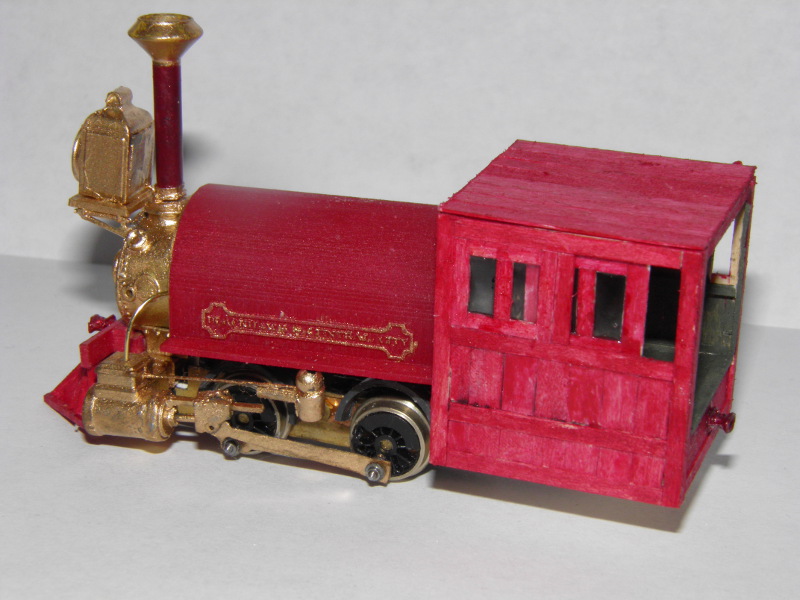
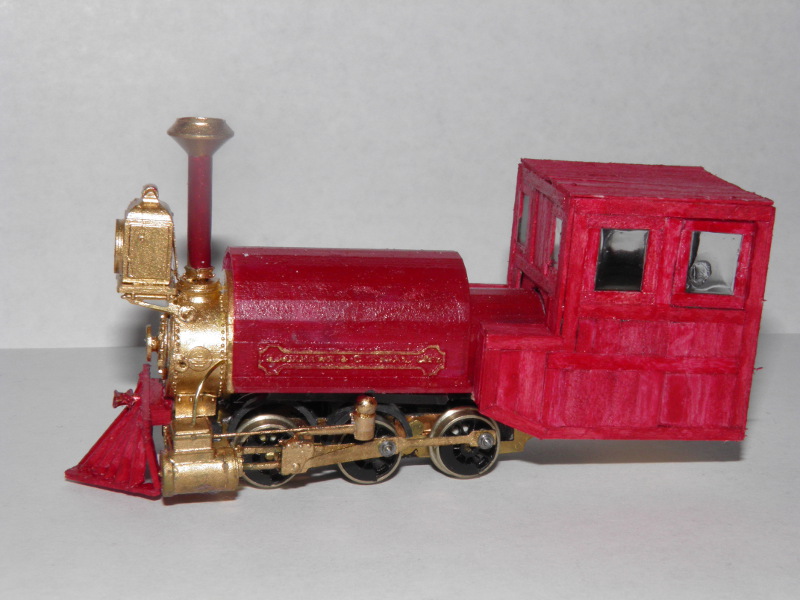
| At this point, the outside of the cab is painted with Wisconsin Central Maroon (the result is almost a cherry stain).
MicroGlaze's window glazing is then applied for all the cab windows. |
|
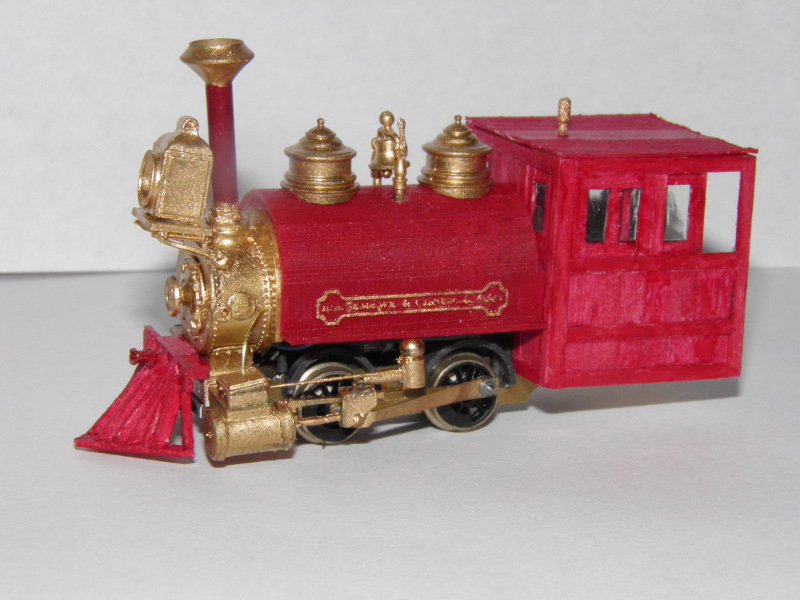
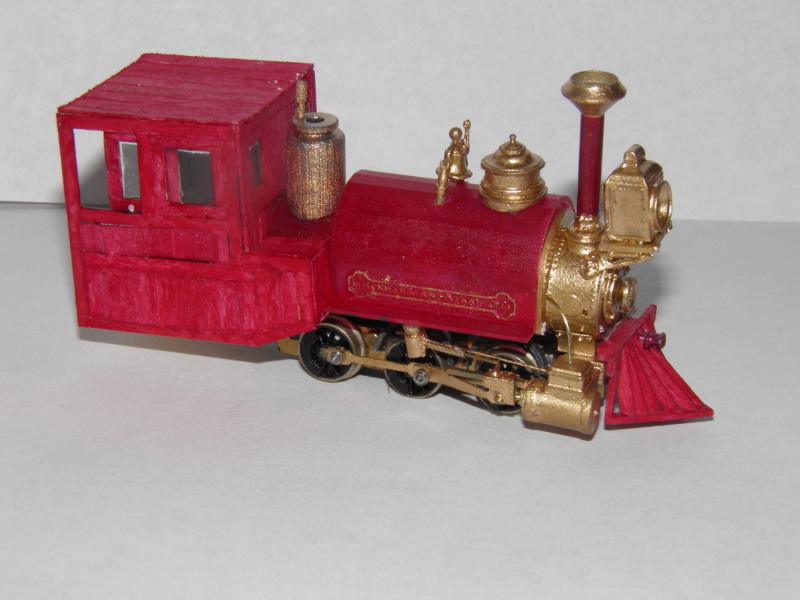
| The bells, domes and whistles can now be mounted. |
|
| Scale 2"x2" pieces cut to length and painted gold make up cab detailing. |


|
| Lastly, eyelets and .018" wire are used to model the handrails above the running boards. More .018" wire models
the bell pull. A piece of flat brass is cut to shape for the water tank hatch on the six wheeler (I ran out of room for it
on the four wheeler). The whistle pull is omitted due to access issues and the sand piping omitted for operational fidelity. |